Leave room for hair and shoulders
Choose a sharp portrait with visible hair edges. Motion blur, fine flyaway hair, and low contrast can need manual refinement after downloading.
 AI Remove Background
Separate your portrait from the scene for profiles, presentations, and creative work.
Upload an image1 credit per successful image. Technical failures return your credit.
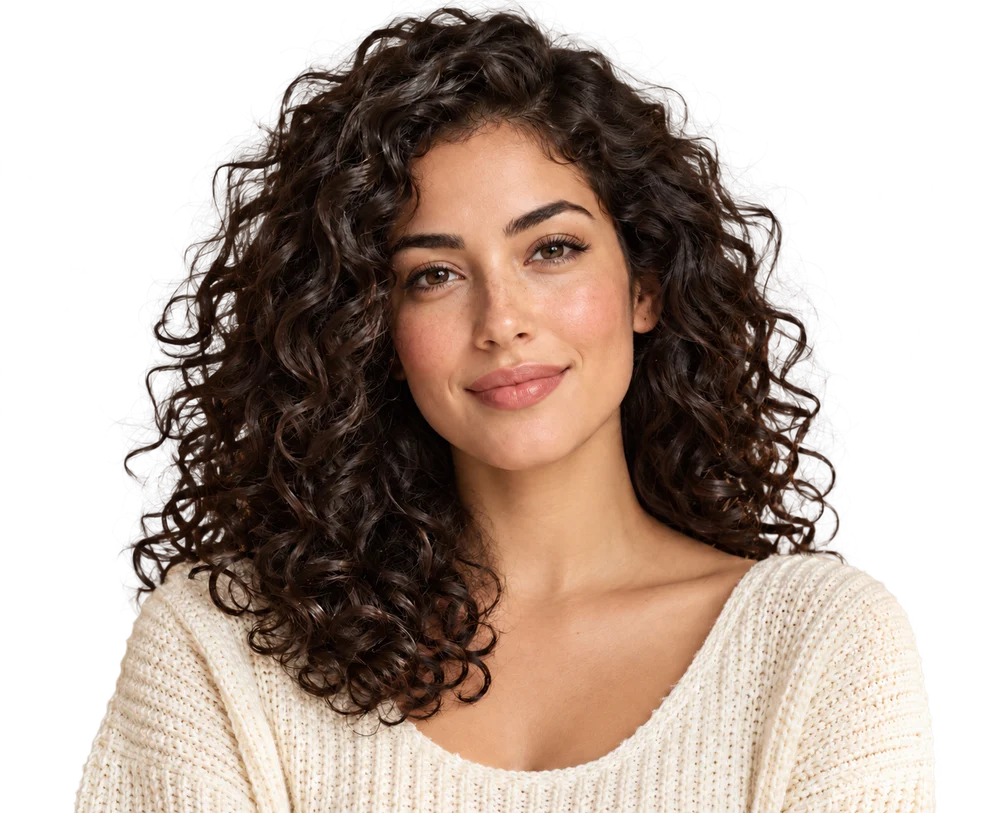
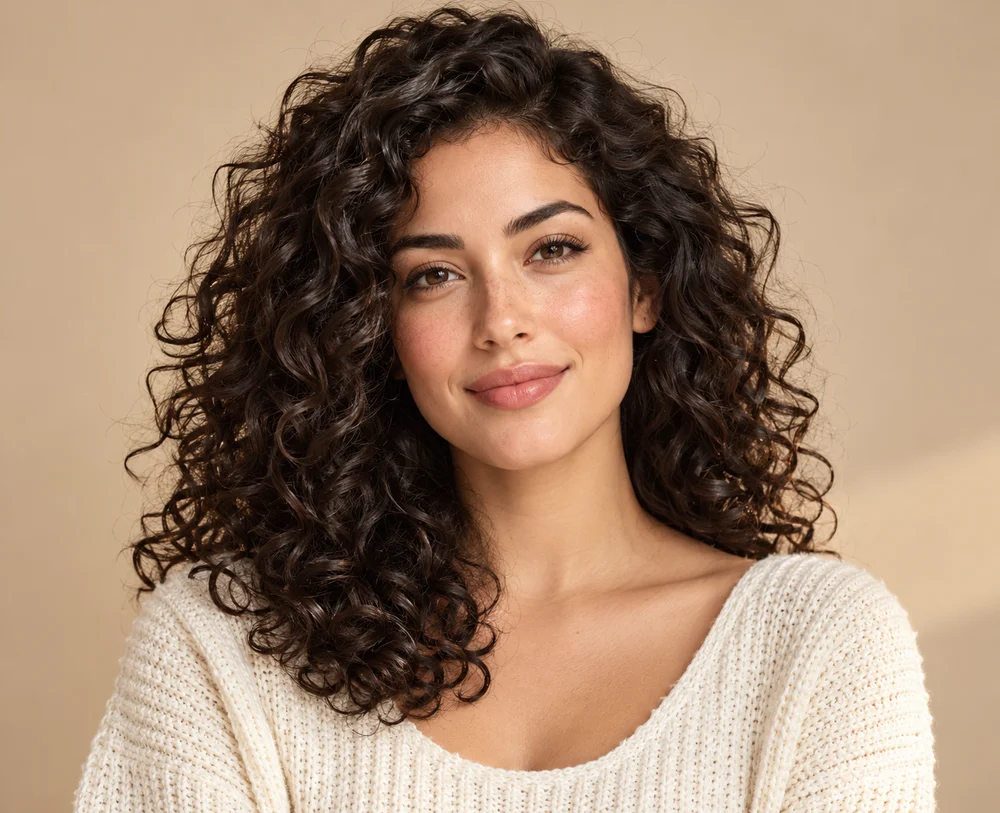
Choose a sharp portrait with visible hair edges. Motion blur, fine flyaway hair, and low contrast can need manual refinement after downloading.
Use your cutout in a profile layout or presentation. Facial retouching, clothing changes, and passport or visa compliance checks are not included.
Start with a sharp photo in which the person is clearly separated from the background. Leave room around hair, shoulders, hands, and accessories. Soft light helps avoid deep shadows that merge with dark clothing. A busy background, motion blur, or hair that blends into a similarly colored wall can make the outline harder to separate.
For a profile image, choose your framing before uploading, but leave enough room to crop afterward. Decide whether you want surrounding objects in the final picture: a chair, table, or object held against the body can be interpreted as part of the subject. Use a simpler source photo when you need a cutout of only the person.
Upload one supported JPG, PNG, or WebP up to 10 MB after signing in. Processing uses one credit when it succeeds. Wait for the result panel, then compare the cutout with your original photograph. Inspect the face, hands, clothing patterns, jewelry, and hairline before sharing it. Generative editing can alter details; a visually clean outline alone does not guarantee that the person has been preserved exactly.
Use the transparent preview to check flyaway hair, veil edges, glasses, and small gaps between arms and the body. Switching to white can reveal pale halos or missing dark edges. If the outline needs work, save the transparent PNG and refine it in an editor. The current tool does not provide a manual erase-and-restore brush.
A transparent PNG can be placed over a slide, colored profile layout, or other design. Use white export when you need a simple opaque background. Creating the white version uses the existing result and costs no additional credit. Check the displayed output dimensions before enlarging the image, and save both versions to your device within the 24-hour download window.
Use portraits you own or have permission to edit. This is a background-removal workflow, not an identity-document service: it does not verify passport dimensions, visa rules, facial proportions, or official acceptance. Facial retouching, clothing changes, and custom scene generation are not included in the result controls.
Results vary with contrast, sharpness, and the material. Inspect those edges in both previews; complex hair and translucent fabric may need manual refinement in another editor.
The tool does not check passport or visa requirements. A white background alone does not make a photo compliant with an official document standard.
Results are available through private account downloads. Save them within 24 hours; expired files are removed during cleanup. The source is sent to the processing service.
Read the photo preparation tips · Learn about transparent PNGs
Turn your photos into transparent PNGs.