
White halos after background removal: how to check and fix them
Tell a preview background from leftover edge color, inspect transparent PNGs, and choose the right correction for your cutout.
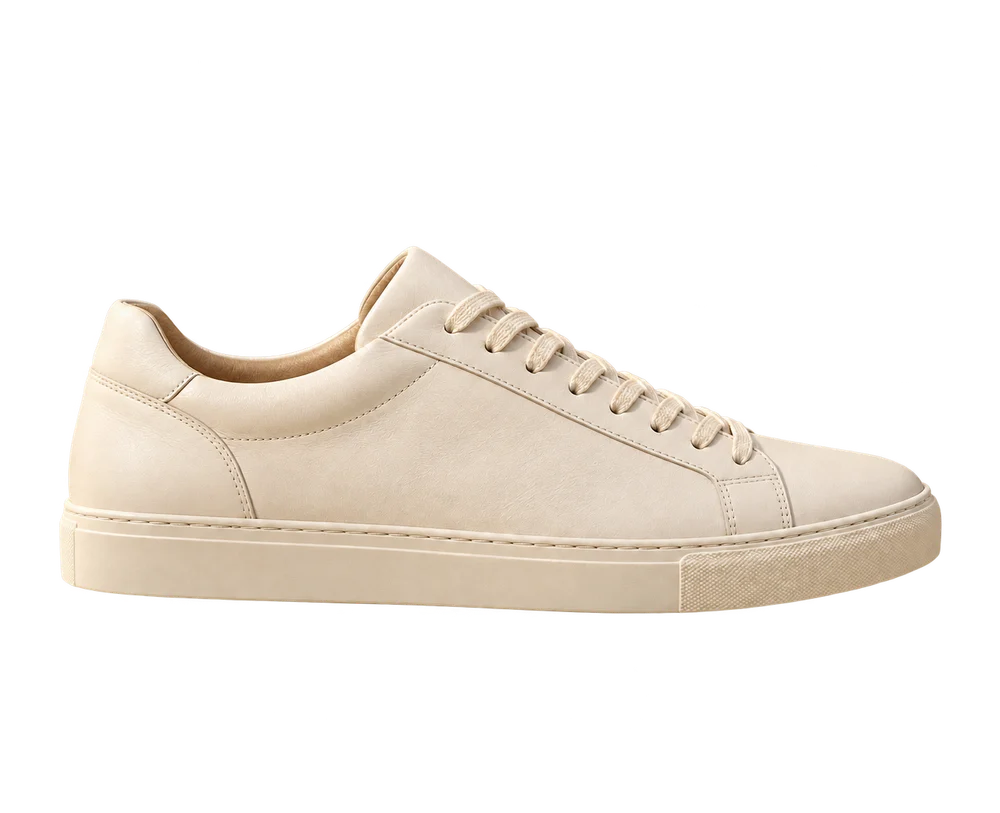
A cutout can look clean on white and show a pale outline on a dark slide or product banner. Before processing the photo again, check whether you are seeing the viewer’s canvas, leftover background color, or a real highlight on the subject. Each needs a different response.
1. Check the file, not just its preview
Download the transparent PNG and place it in an image editor that supports transparency. Some image viewers display transparent pixels on white. A white preview alone does not mean the background is still in the file. A JPG, however, cannot store transparency; neither can a screenshot preserve the original PNG’s alpha channel.
In AI Remove Background, transparent PNG and white-background PNG are different exports of the same successful result. For a reusable cutout, choose the transparent download. The white export deliberately adds an opaque white background. Compare PNG and JPG if you are unsure which file you saved.
2. Inspect on light and dark backgrounds
Place the PNG on white, dark gray, and the actual background you intend to use. The site offers transparent and white previews; use an external editor for other background colors. Inspect at 100% zoom first, then enlarge difficult areas. Finish by checking at the size your audience will see.
Look at hair, fur, handles, laces, and fine straps. Soft edges can legitimately contain partially transparent pixels. Do not erase every soft pixel just to make the outline look sharp: doing so can remove hair and create a visibly jagged silhouette.
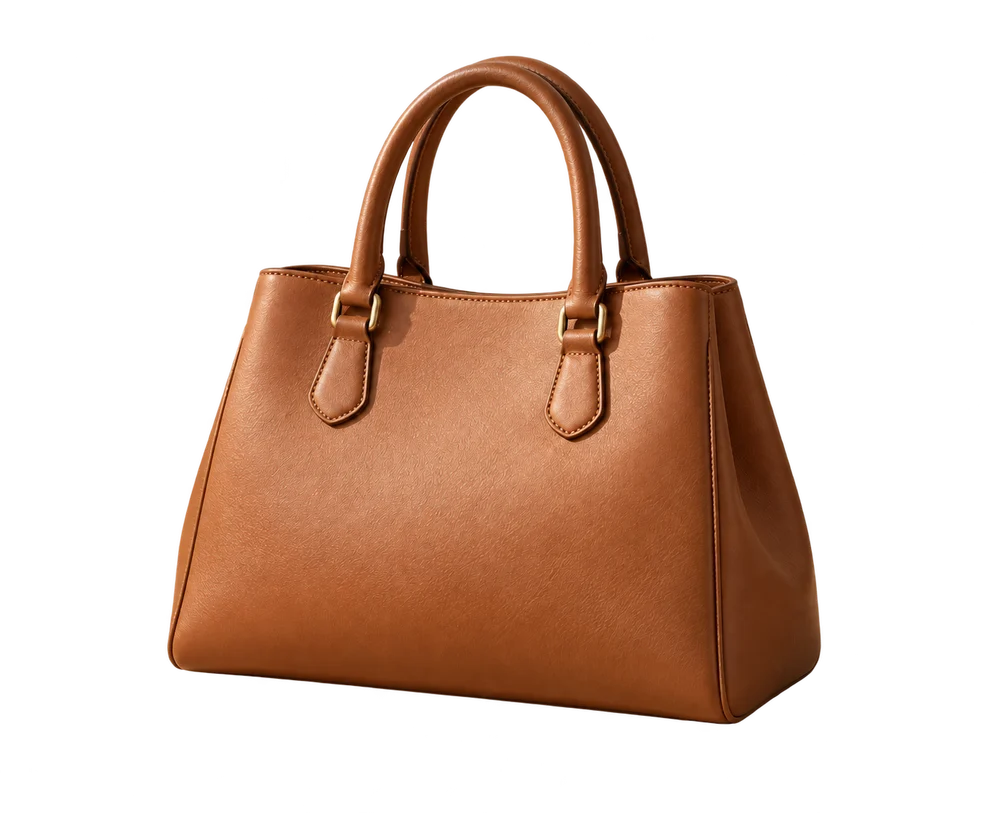
3. Work out where the pale edge comes from
- A solid white rectangle: you may have downloaded the white version or flattened the image onto white. Reopen the transparent PNG before editing the edge.
- A narrow light fringe that follows the outline: edge pixels may still contain color mixed with the original background. It is often easier to notice against a darker backdrop.
- A bright area also visible in the original: it may be a reflection, rim light, or part of a white object. Compare the source before removing it.
- Missing or changed fine details: compare the cutout with the original. Generative processing can alter details; a cleaner outline does not by itself make the subject accurate.
Glass, translucent packaging, and reflective metal need particular care. Background color may be visible through or reflected in the object itself, so trimming its outer edge will not necessarily solve the problem.
4. Correct the affected edge carefully
AI Remove Background currently provides transparent and white exports, without a manual edge brush or a defringe control. For local corrections, open the transparent PNG in an external editor and keep an untouched copy.
If your editor supports a layer mask, adjust only the affected area. A small inward mask adjustment can reduce a fringe on a firm product edge, but apply it gradually and check that you have not narrowed straps or removed corners. Where available, try color decontamination or a defringe tool on a duplicate layer. These tools can change real subject colors, so compare with the source on both light and dark backgrounds.
Hair, fur, and translucent edges usually need a gentler approach than a hard product outline. Avoid applying the same aggressive correction to the entire subject. Simply saving the file as PNG again, adding a white background, or increasing its dimensions will not restore lost detail or repair contaminated edge colors.
5. Improve the source when editing is not enough
If the subject is blurred or nearly the same color as the background, start with a clearer source when possible. Use soft, even lighting, keep the full outline in frame, and choose a backdrop that separates from the subject. Avoid strong backlighting unless that bright rim is part of the look you want. See the product photo checklist for preparation tips.
A new processing attempt is a new operation, not a free edge adjustment: one successful image uses one credit. Switching previews or downloading the transparent and white versions of an existing successful result does not use another processing credit.
Before publishing
Check the real destination background, fine details, product labels, colors, and proportions. Keep both the original and the approved transparent PNG. Download your private result within 24 hours, before access expires. Output dimensions are selected by the processing service and are not guaranteed to match the original.
Try background removal · Learn about white-background exports.